

My brother got me the Colette book for Christmas, and it’s awesome. All the little things I hadn’t quite understood before – particularly fitting issues – are way clearer now. For my first item from the book, I decided to make the Pastille dress as an exercise in fitting.
My original plan was to use this as a kind of wearable toile, purely for fitting practice, as I wasn’t sure the shape would suit me.
This is the first time I’ve made a toile “properly” – except I actually really like it so it no longer counts as a toile… I traced out the pieces (as oppose to cutting, which I normally do with my PDFs).
I cut the pattern as a size 6 on the bust, 8 on the waist and 4 on the hips. I have ridiculously tiny 35″ hips – they’re actually way smaller than a size 4 and often come up as a size 0 or smaller on patterns. Basically, I am shaped like a carrot, but I don’t want to look like a carrot so I always size up.

I used the arm scyes and sleeves from the Emery dress, because I just don’t like cap sleeves. They’re too agnostic – sleeves are either there or they’re not. They can’t be somewhere in between.
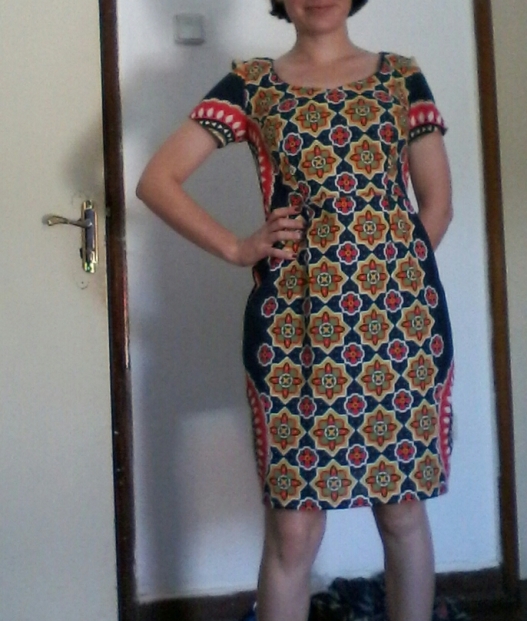
I tacked all my pieces together in this quite fabulous African wax print. I made a vague attempt at pattern matching, but this fabric is too varied and I would need at least 6 metres of it to get it right, so I didn’t try too hard.

When I tried it on, it was too big in all sorts of directions (see terrible mirror selfies below). The bodice was too long and the waist too wide, plus it had a hunchback, which I’ve seen on other blogs is a common problem with this pattern.


To fix it, I did the following – bear in mind I’m a beginner! This might not be the best way and it hasn’t come up perfect but it’s definitely better…
- took the waist in about 2cm on each side, tapering to nothing at the arm scyes
- brought the shoulders down 2cm (the darts were also too low)
- shortened the bodice by 2.5cm
- redrew the neckline and arm scyes
- redrew the upper back darts
- raised the centre back waist about 5cm on the bodice tapering to nothing at the side seams
- raised the centre back waist about 4cm on the skirt tapering to nothing at the side seams

I wonder if I should be cutting a smaller size?
Finally, I decided that the pleats would be a bit pointless on this busy print. However, I plan on making another one in a plain fabric, and I think they’ll be good there.

I’m pretty pleased with this dress – my first real attempt at fitting! Once I’d made the changes, it was actually really fast to sew up, especially putting my pinking shears to use 😀

So overall I like this pattern. It’s a simple shape but I think it’s flattering, and I reckon it would work up just as well in a plain fabric as in a print. I’ll be making this again, if I ever get through my mile-long list of things I want to make…
